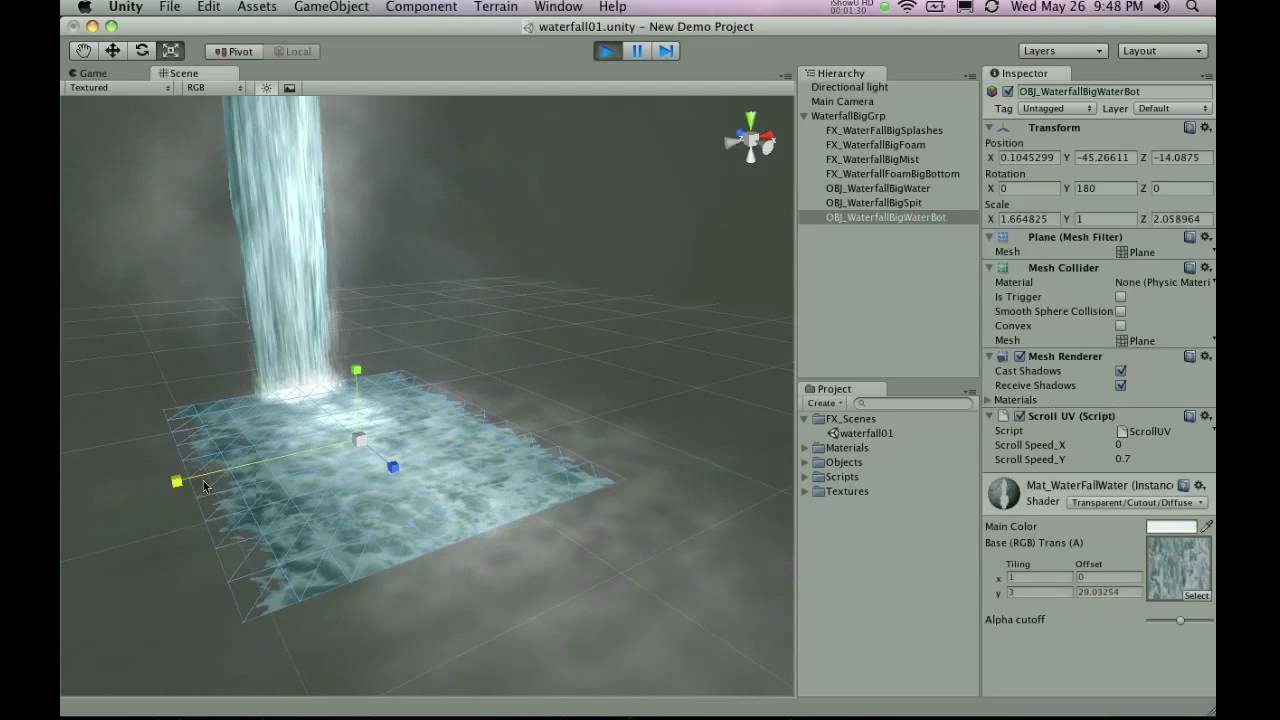
For this week unity tutorials, i was mostly focusing on looking for videos that contained free assets that I can use for my game, especially the landscape elements like stones, trees, bushes, caves, surfaces, textures and so on. I went through a lot of videos because each of them contained something new and different and was used in a different way. Even though there are a lot of free assets in the Unity Asset store, you can sometimes find unique textures and assets in description of videos. Also, when you get to see the assets in action, you get to see which ones are worth downloading and using for my project.
Since I'm working on my game now, i am more concentration on actually making my game rather than looking for tutorials because when I will have my level one, I will then be able to see what I'm missing and then i will look for the tutorials on missing components.
I went through this really short tutorial on how to add in a minimap to my game, so that the player can know their location within the map. Also it adds a bit more to the Head Up Display to make it look like a real game.
For this week Unity tutorials, I finished all lessons by Jimmy Vegas. The first video was about post processing and how it changes the way the game looks. That lesson was very interesting because of the possibilities post processing script gives us. First of all, its free to download from the Asset Store, secondary its really easy to use because you don't need to code anything. There are settings like the Bloom, Anti-aliasing, Motion Blur, Color Grading and few others. They are very powerful options as they completely change the look and the feel of the game, so I would recommend to everyone who is reading my blog to watch the video. Because game is not only the mechanics but also the graphics, and post processing can change any scene into an genre you are looking for, like horror, fantasy, etc. Also, it gives you possibility to change the settings during the game view, so you can full control in game of how it looks. The last video was a review of the previous episodes, but in a different way with more details. Also in that video, he showed us how to create a script for opening and closing doors, based on a previously written gem script, only slightly changed. Overall, those two videos are related to my project and I will try use them in my game.
For my unity free tutorials, I decided to stick to Jimmy Vegas and continue with his series of tutorials because I find them easy to follow and its only 15 of them so I decided to finish them all, because it still has content that will be relevant and useful for my project.Today, I went through two tutorials. In first tutorial I learned more about colliders and how to animate action through the animation bar and how to script that action further. The example in this video was animating and scripting door movement. It was a similar script to the gem collecting, but this time we used a lot more colliders and animation. The second video talked about the particle system and how to manipulate it, and also how to add in more trees and nature into our world. I really liked the particle system and will use it for my project as it is easy to use and can give many different effects to the scene. The two videos were very useful, as they relate to my idea for the project. In the video, I also learned that the particle system is not only useful to create fog, but also fire, smoke, explosion effect, water, rain and so on.
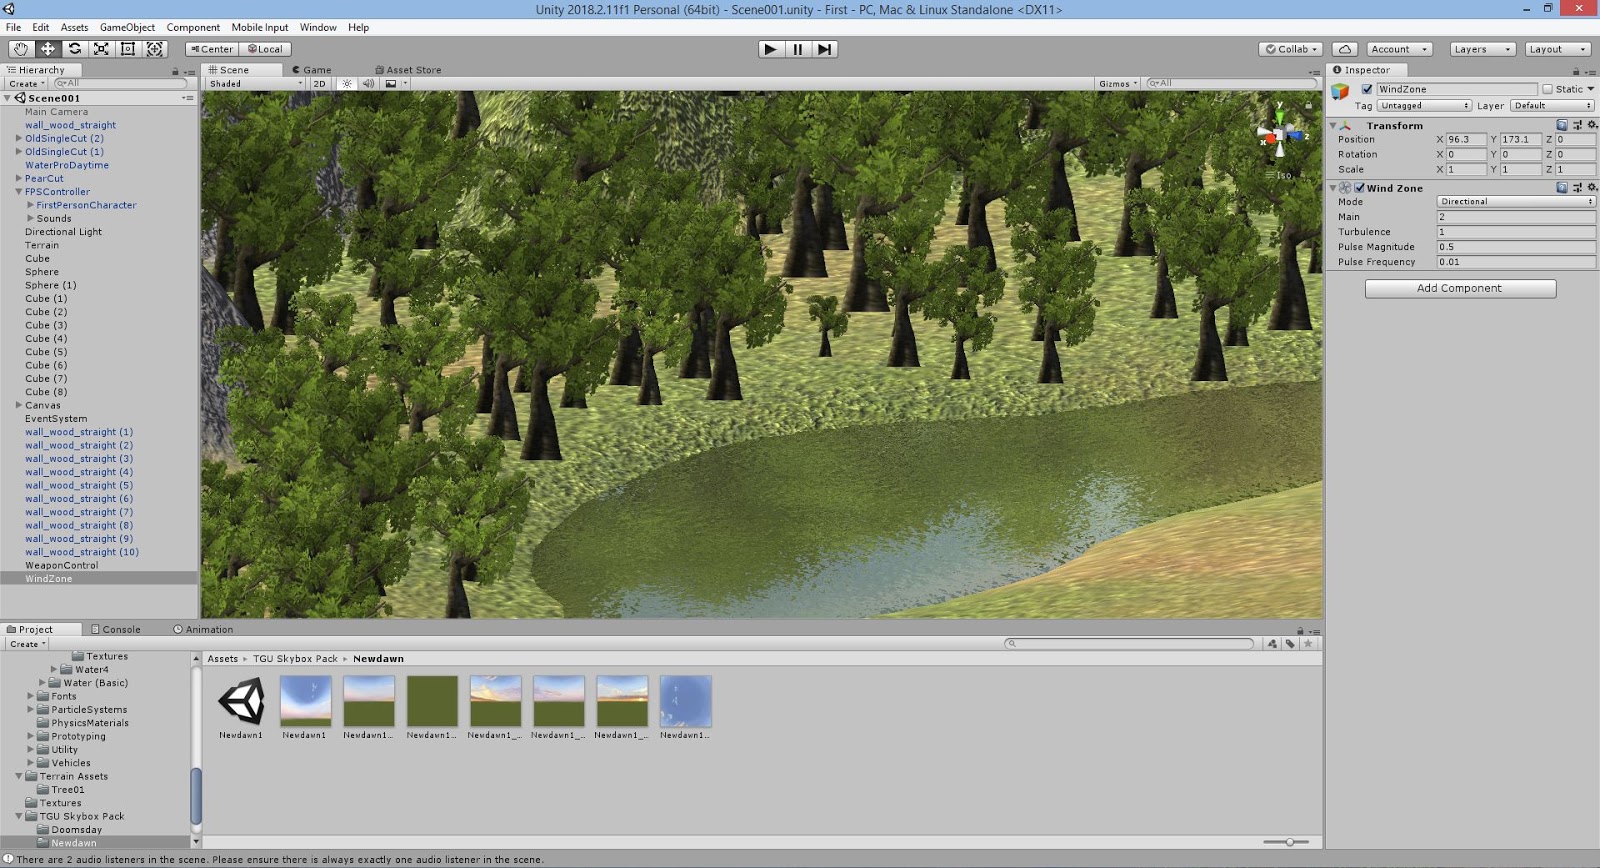
Hi , in this blog I will continue to tell and describe what we have learned new and how it will contribute to the creation of our game. So let's start with what we learned from Unity Tutorials 9 - 11. In first video, we reviewed and learned new game elements such as: Skybox,Lighting and Wind zone. Very interesting video about the creation of the sky in the game and how you can use the light settings to choose the desired shade or to balance the light or change it to another. We also learned how with the help of Wind Zone settings you can change the strength of the wind, its direction and intensity. In the second video, we learned how to pick up any object in the game, example weapon. And using the example of the script from the last lesson(gem picking) we went through step by step how to do this in different way. Also we learn from this tutorial how to Fade in the scene trough Animation and script. In the last video, we learned how to fix bugs in game trough script, also we go over and repeat whole process of adding a new texture(grass,bushes and House) and also we finish Fade out screen same way as we did in previous video, trough scripting.
The first thing I would like to note is that I prefer to perform the task in the form of a video tutorial more than text form so I was glad that we returned to a more understandable form of tutorials where at least you can see examples what you get on the screen in the process of doing it. To go through these three training videos, I continued to work on the same map as I had before. The first lesson was about how to create all sorts of different varieties of dynamic cursor and how to create and add more UI elements in to the scene. Also how to work with text and how to attach actually command button to a action. The remaining two videos were about how to create a weapon and animation,how to add sound to a swing,and how actually make that to work through scripting and layering. I went through all three videos tutorial, and did everything gradually, step by step , and I was glad that by the end of these tasks I had everything turned out and worked without errors.
I went through this tutorial from beginning to end, step by step, I carefully repeated all the exercises, but at the end my watches did not work. I checked everything one more time, but this did not lead to anything, the clock did not work. In the end, I checked everything with the already given script, but the error was not found. Therefore, I copied the script given in the task and it all worked
Like in the previous post, I watched and followed the tutorials, but I came across some coding problems thought I am not sure, because Unity shows that the code is correct. The problem is after creating the gem and adding the rotation and collection script to it, it worked fine, but after installing the raycast script, the gem started to fly all over my world. I checked twice in unity, and the unity shows me that the code is correct but... it doesn't work. So I finished the tutorials with one unsolved mistake.
I went through jimmy Vegas' tutorials and followed them step by step. I had some difficulties during the first three videos, as I couldn't find the standard assets. In tutorial, the standard assets were included in the installer, but in newer versions, you need to get them from the Unity asset store. The rest was fine, easy to follow and I quite enjoyed doing my first steps in game development as I have never done anything like this before.